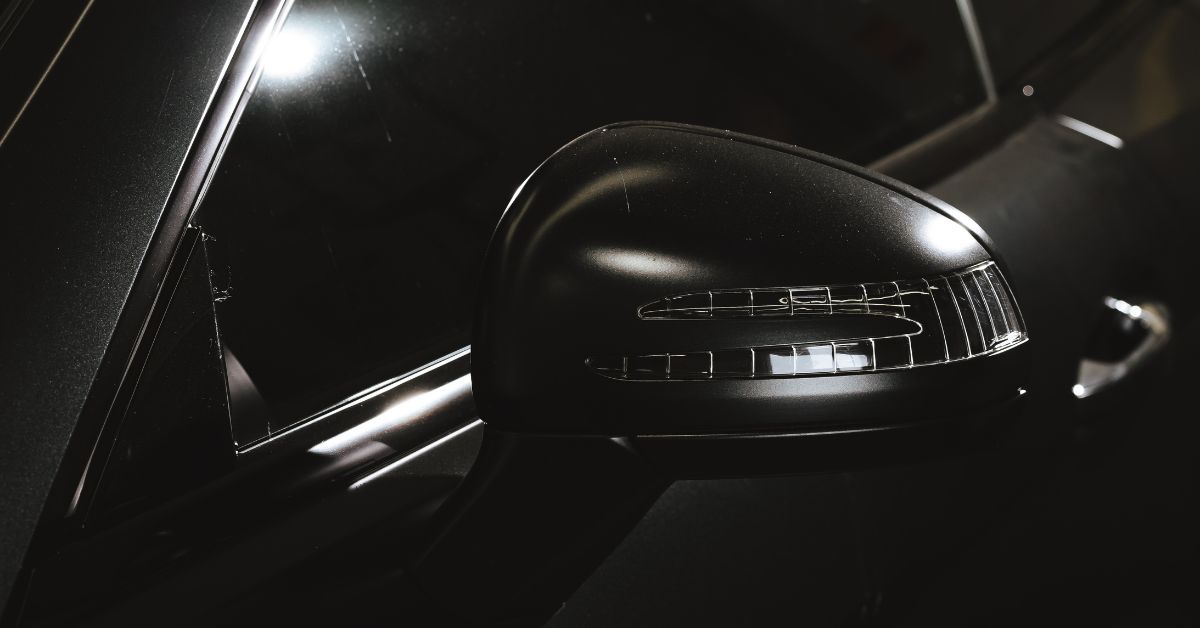
Car Bumper Repair Explained: Step-by-Step
Car bumpers are often susceptible to damage in the form of dents, cracks, and scratches. Not only do these damages decrease the aesthetic appeal of your vehicle, but they can also lead to more severe issues if left untreated. In this guide, we will explain car bumper repair step-by-step, covering all aspects of the process, from assessing the damage to completing the repair. Follow along to get your car looking fresh once again!
1. Assessing the Damage
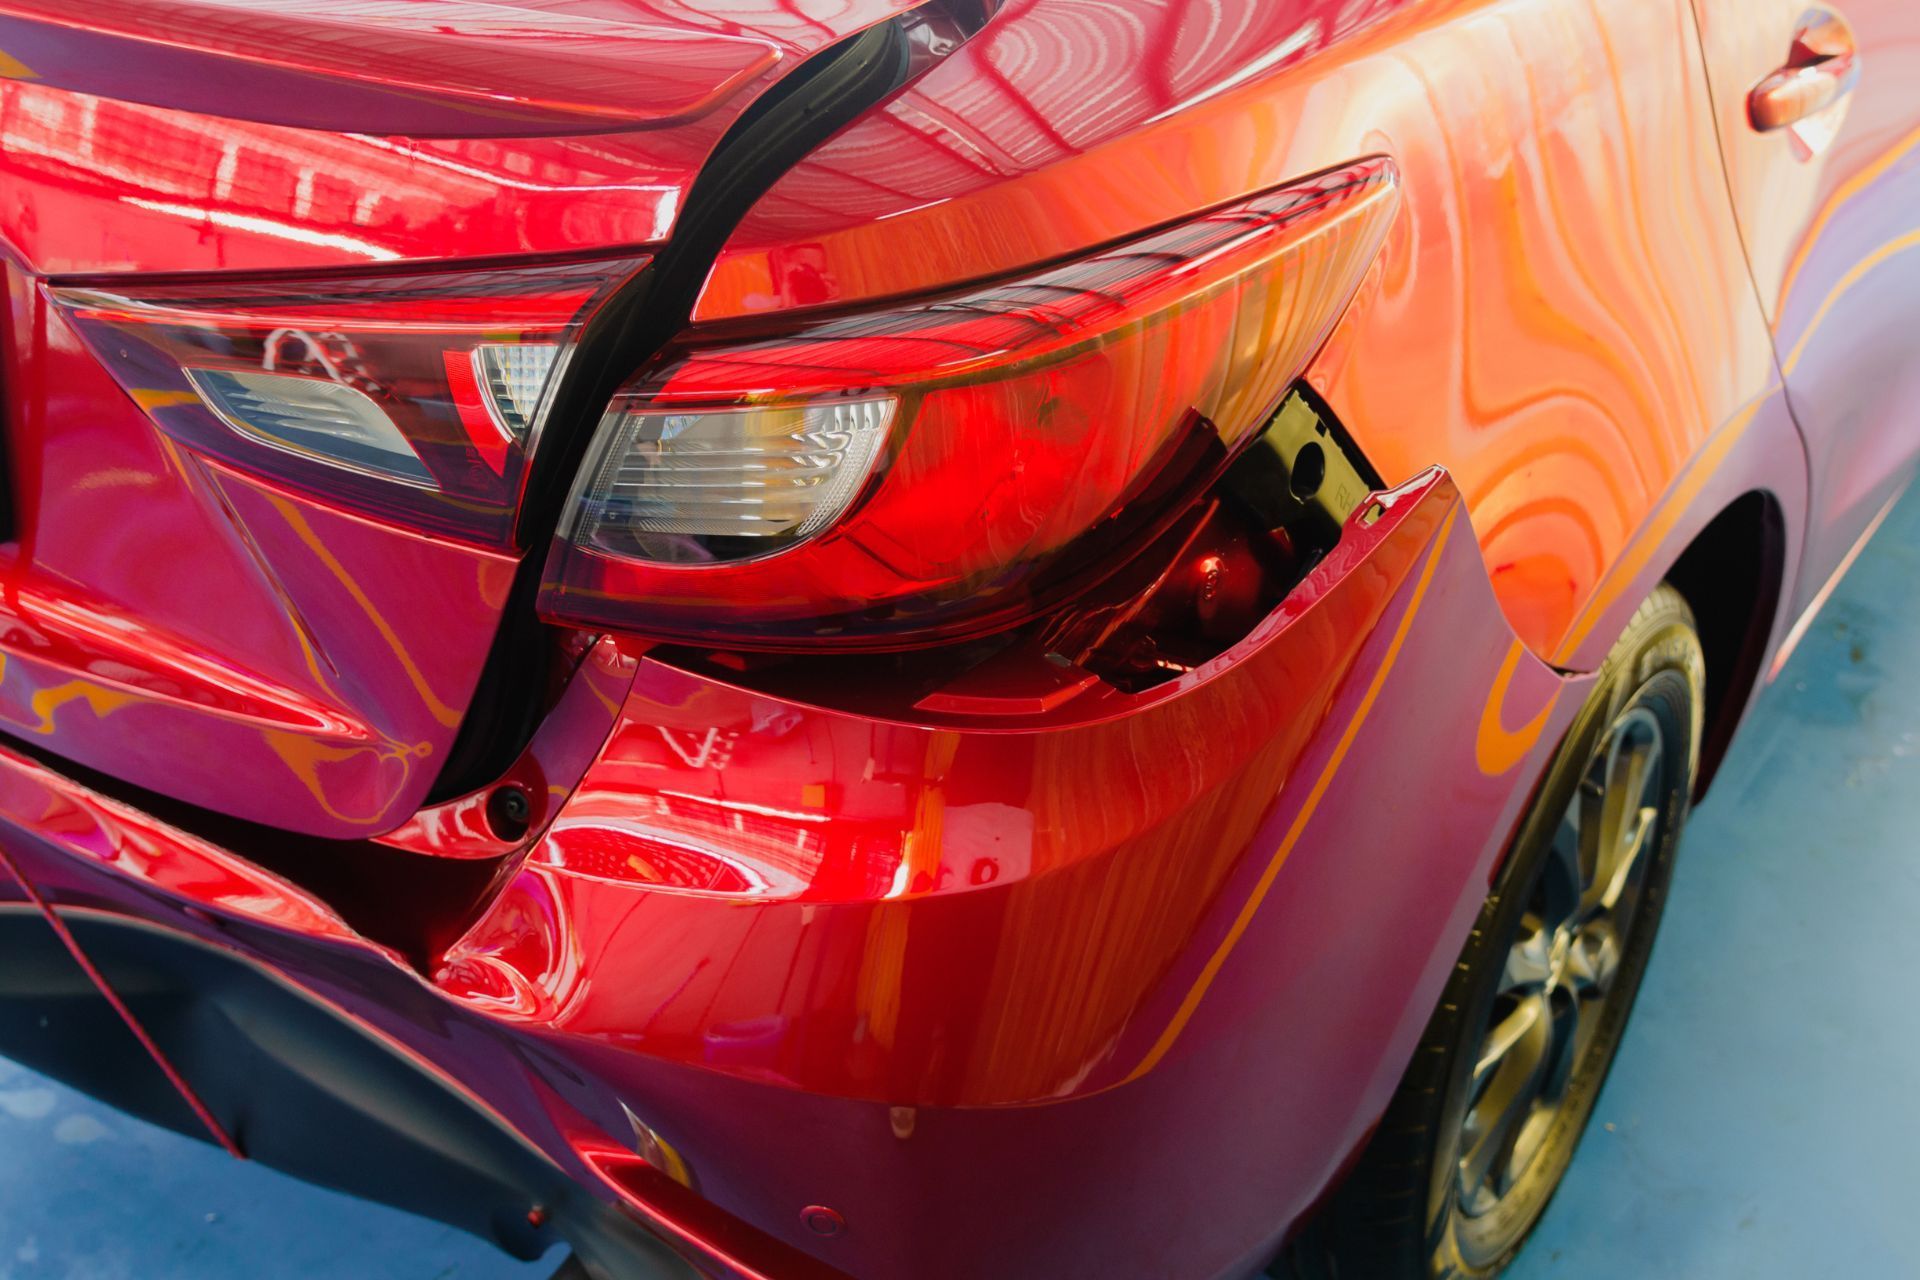
Thoroughly inspect the damaged area and evaluate the extent of the damage to your car's bumper. The following are common types of damage:
- Minor scratches or scuff marks
- Dents or dings
- Cracks and splits
The type of damage will determine the repair process and the necessary materials. Make sure to document the damage with clear photographs, as they will help when purchasing the appropriate materials and tools.
2. Gathering the Materials
Now that you have assessed the damage, gather the necessary materials for the repair. The materials you need will depend on the type and extent of the damage, but common items include:
- Sandpaper (both coarse and fine grit)
- Repair filler or epoxy
- Primer and paint (in the correct color for your vehicle)
- Protective equipment (gloves, goggles)
- Body filler spreader
- Painter's masking tape
3. Preparing the Area for Repair
Before beginning the repair process, you must prepare the damaged area. Start by cleaning the damaged area with a mild soap and water solution to remove any dirt or debris. Next, sand the area around the damage with coarse-grit sandpaper, removing any loose paint or material. This step helps create a rough surface for the repair materials to adhere to.
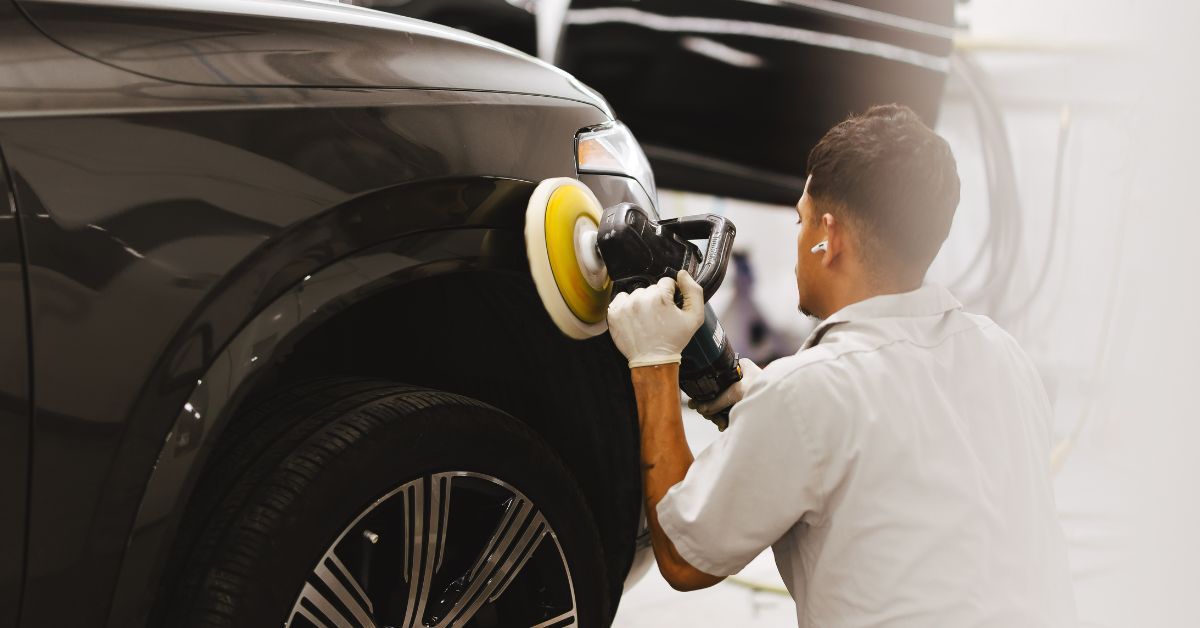
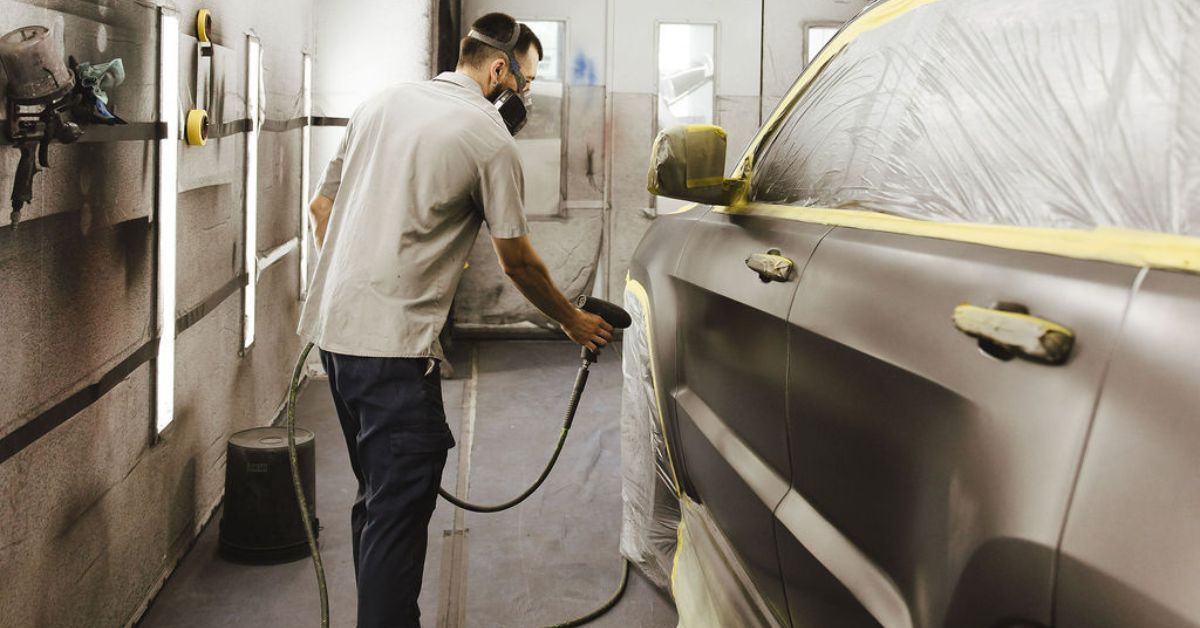
4. Repairing the Bumper
Now, it's time to repair the damage. Follow the steps below according to the type of damage you need to fix.
- For scratches or scuff marks : Apply a layer of primer and allow it to dry. Sand the area smooth with fine-grit sandpaper, then apply the matching paint.
- For dents or dings : Use a heat gun or hair dryer to warm the area and make the plastic more pliable. Carefully pop the dent back into place using a suction cup dent puller. Then, sand the area smooth, apply primer, and paint any scuffed areas.
- For cracks and splits : Reinforce the damaged area by applying a layer of mesh tape to the inner side of your bumper. Next, mix the repair filler or epoxy according to the manufacturer's instructions. Then, apply it to the damage using a body filler spreader. Allow the filler to dry, then sand the area smooth and apply primer and paint.
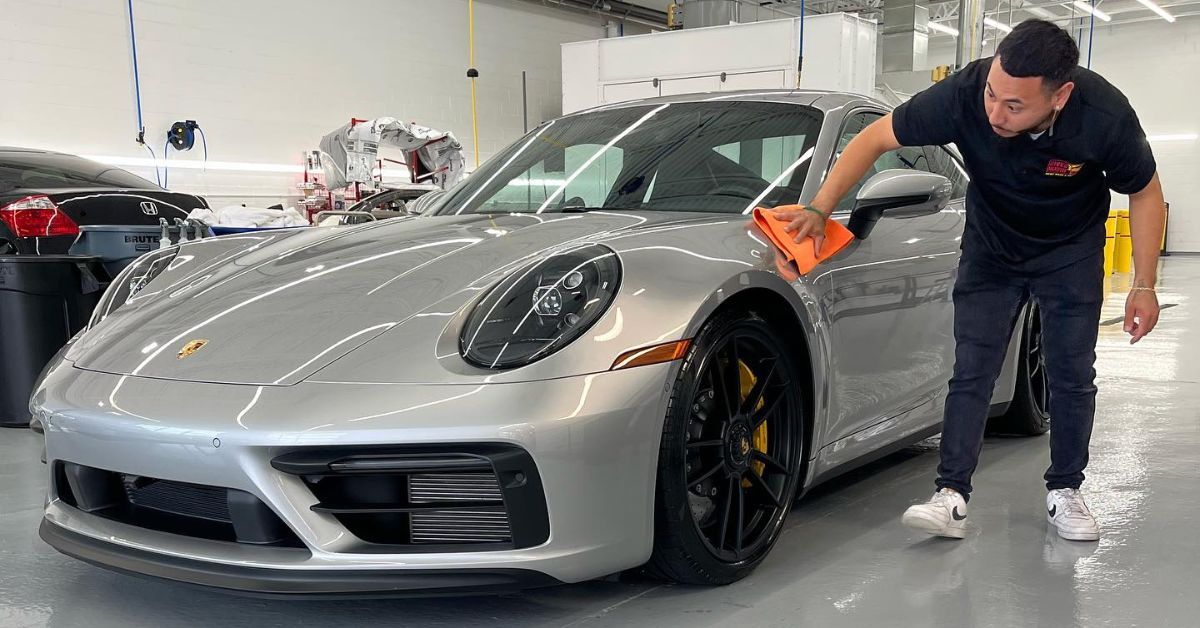
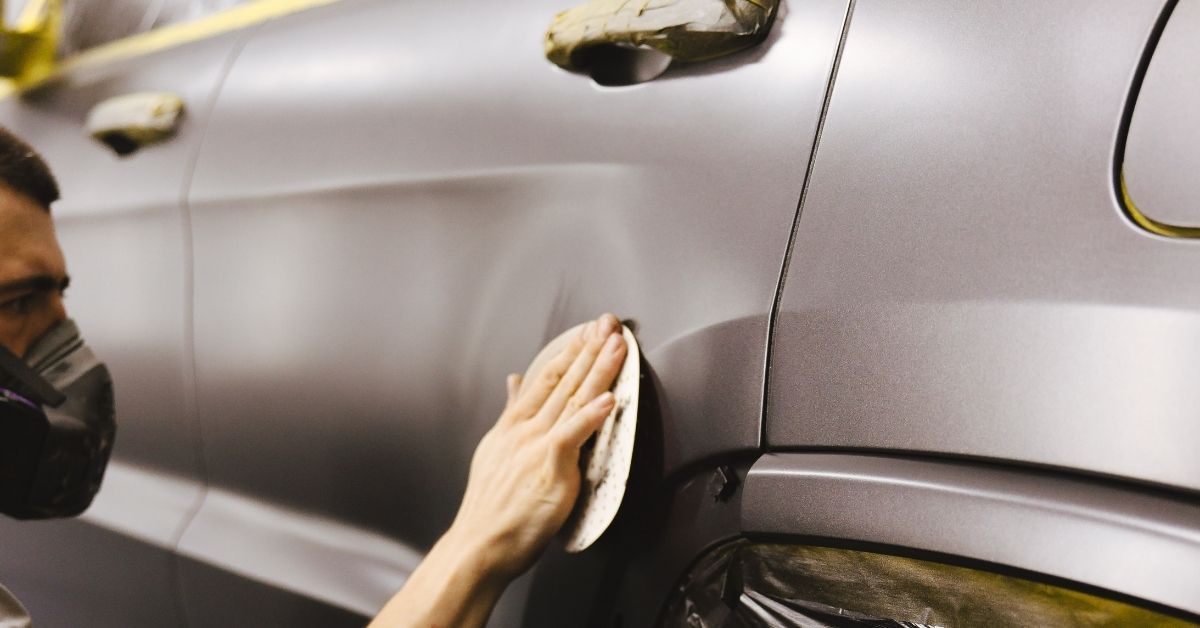
5. Final Touches
After allowing the repair materials to fully dry, inspect the repaired area to ensure it has a smooth surface and blends seamlessly with the rest of the bumper. If necessary, use fine-grit sandpaper to further smooth the area and apply additional coats of paint. Once you are satisfied with the repair, you can reattach your bumper to your car if it was removed for the repair process.
Even though we’ve explained car bumper repair step-by-step, there might be instances where the damage is too severe or complicated to handle by yourself. It's always okay to seek professional help to ensure the highest quality repair for your vehicle. If you're in such a situation, North River Collision Repair is at your service. Our skilled technicians specialize in a range of bumper repair services and would be glad to restore your vehicle to its original glory. Don't let bumper damage diminish the value or appeal of your car; contact us today, and let us take care of the rest!